


Basic Port Forwarding explained with a REYEE Fibre Router:
The Reyee RG-EW1300G dual-band WIFI, Cable router is a cost-effective router to use for both cloud and remote management of port forwards such as those needed for CCTV IP Cameras and NVRs. The device also offers Gigabit Ethernet ports i.e. 3 by Gigabit LAN ports and 1 by Gigabit WAN port. This means that for a typical 1 Gbps Vumatel fibre connection, you can route the WAN speed straight through to the LAN ports i.e. Gigabit in, Gigabit out.

To do the initial set up on a brand new Ruijie Reyee RG-EW1300G router, plug its AC adapter in the power and connect an Ethernet cable from your internet source to the WAN port. Connect your PC or Laptop’s LAN port to one of the router’s LAN ports or make use of its default Wi-Fi network listed on the bottom label. Once done, then open a web browser and browse http://192.168.110.1 to complete the initial setup.
The most critical setting would be to change the device’s default management password as this might come in handy when you have loss of internet to the router in the future and you can’t manage it via the cloud management portal.
The Ruijie Reyee RG-EW1300G router can now be added to any of your projects configured in the cloud portal by scanning its QR code or entering its serial number in the Ruijie Cloud app or via Web Browser on PC or Laptop. https://cloud.ruijienetworks.com/
Once added you can select the eWeb tab which is a built-in web management interface for Ruijie Reyee networking devices that allows for direct, local configuration and advanced management.

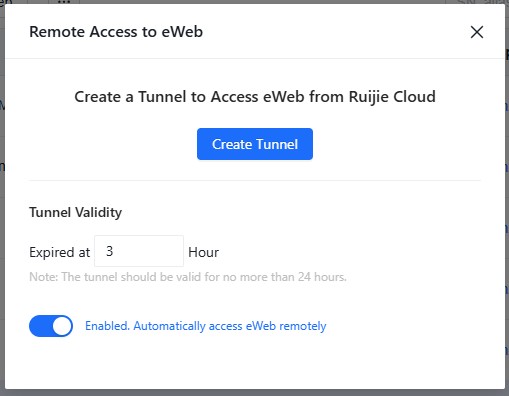
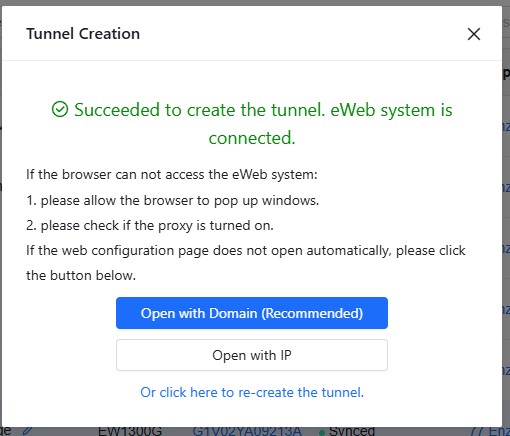
Once remote access to the Ruijie Reyee RG-EW1300G router is obtained, you need to click on the tab “More“.
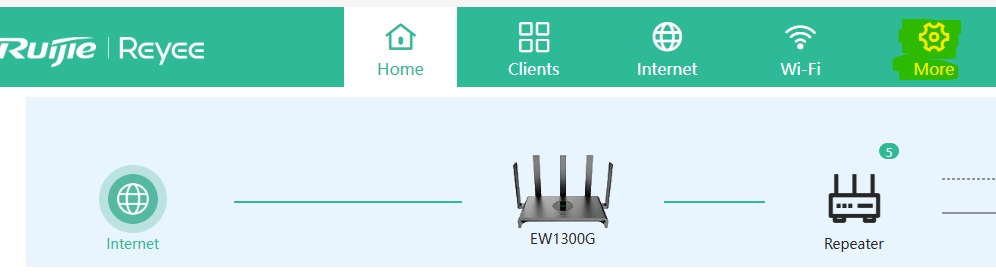
From there you need to click on “Advanced” and then select and click on “Port Mapping” which will bring up the “Port Mapping List” where you can add or remove or edit each port mapping rule you have or will be adding.
To ensure stability, the best option would be to configure the router’s DHCP range for example from 192.168.0.100 to 199 so that you can use a fixed private IP for each camera below or above the DHCP range for example 192.168.0.10 etc.

In order to remotely record the CCTV footage from your camera located on the above network you’ll need to determine its Public WAN IP address, have the username/password credentials for the CCTV camera and use the associated port values in the remote NVR. There’s a couple of ways to obtain the WAN IP address, but one easy way is to simply reference to the “Management IP” in the Cloud Management Portal.

A typical set of settings in a Dahua NVR would then look something like this:


